What Is Sanity Testing? A Beginner’s Friendly Guide
Sanity testing is one of those QA terms that sounds more dramatic than it is—but it’s actually a simple, practical checkpoint every tester should understand. Think of it as a quick confidence boost for the software before the team dives into deeper testing.
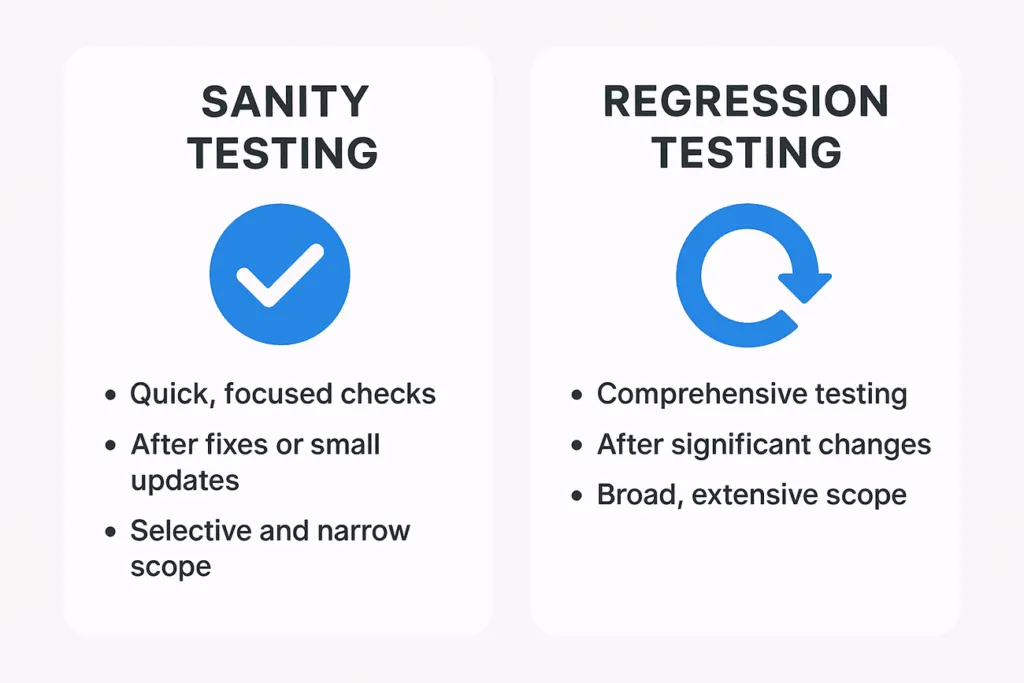
At its core, sanity testing is a focused, narrow verification done after a bug fix or a small update. Your goal is to check whether the specific change behaves as expected and hasn’t broken anything essential around it. Unlike a full regression cycle, sanity testing is short, selective, and fast. You don’t check everything—you only check what matters right now.
Imagine a developer fixes a login issue. Before running complete regression tests, you perform a small set of targeted checks: Does the login work now? Does the reset password page still load? Are basic flows intact? If the answer is yes, the build is “sane”—safe enough for further testing.
Sanity testing usually happens after receiving a new build that includes minor changes, especially bug fixes. It acts as a safety net for the QA team. Rather than spending hours testing an unstable build, sanity testing helps you quickly decide whether the build is worth deeper investigation.
For beginners, the biggest challenge is knowing what to test and what to skip. A good rule is: test only what has changed and the functions directly connected to that change. If the developer fixed a checkout button, you don’t need to test the entire site—just the checkout flow and its immediate neighbors.
Sanity tests should be simple, predictable, and repeatable. You don’t write long test cases for them; instead, you rely on quick checks or short scripts. If the sanity test fails, the build goes back to the development team immediately. No need to proceed further.
Mastering sanity testing makes you faster and more efficient as a QA professional. You save your team’s time, avoid wasted effort, and ensure that deeper testing happens only when the product is stable enough.
If you found this post helpful, consider buying me a coffee. It keeps me writing!
